Here we are with part 2 of the Oil barrel Pizza oven blog at last!
1. Kiln shelves
The first stage was to lay some kiln shelf sections in the base to take the fire and the pizzas, I used what I had form the first pizza oven and managed to tessellate them together quite neatly.
I plan to replace these at some stage as it is best not to have any joins in the area that you will use to cook the pizza. If there any joins they tend to catch on the Pizza peel as you move the pizza in and out of the oven.
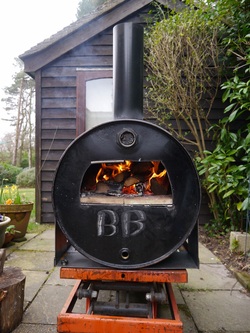
2. The test burn
This show the test burn, the smoke you can see is the paint burning off. make sure you have a sturdy steel or stone/brick base as there is some serous heat generated.
The first stage was to lay some kiln shelf sections in the base to take the fire and the pizzas, I used what I had form the first pizza oven and managed to tessellate them together quite neatly.
I plan to replace these at some stage as it is best not to have any joins in the area that you will use to cook the pizza. If there any joins they tend to catch on the Pizza peel as you move the pizza in and out of the oven.
2. The test burn
This show the test burn, the smoke you can see is the paint burning off. make sure you have a sturdy steel or stone/brick base as there is some serous heat generated.
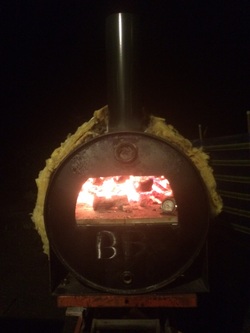
3. The Insulation
There is a massive amount of heat loss through the top of the Oven, we laid a piece of fibreglass insulation over the top as a temporary measure to see how it worked. You can just see the oven thermometer in the picture, it is off the scale!
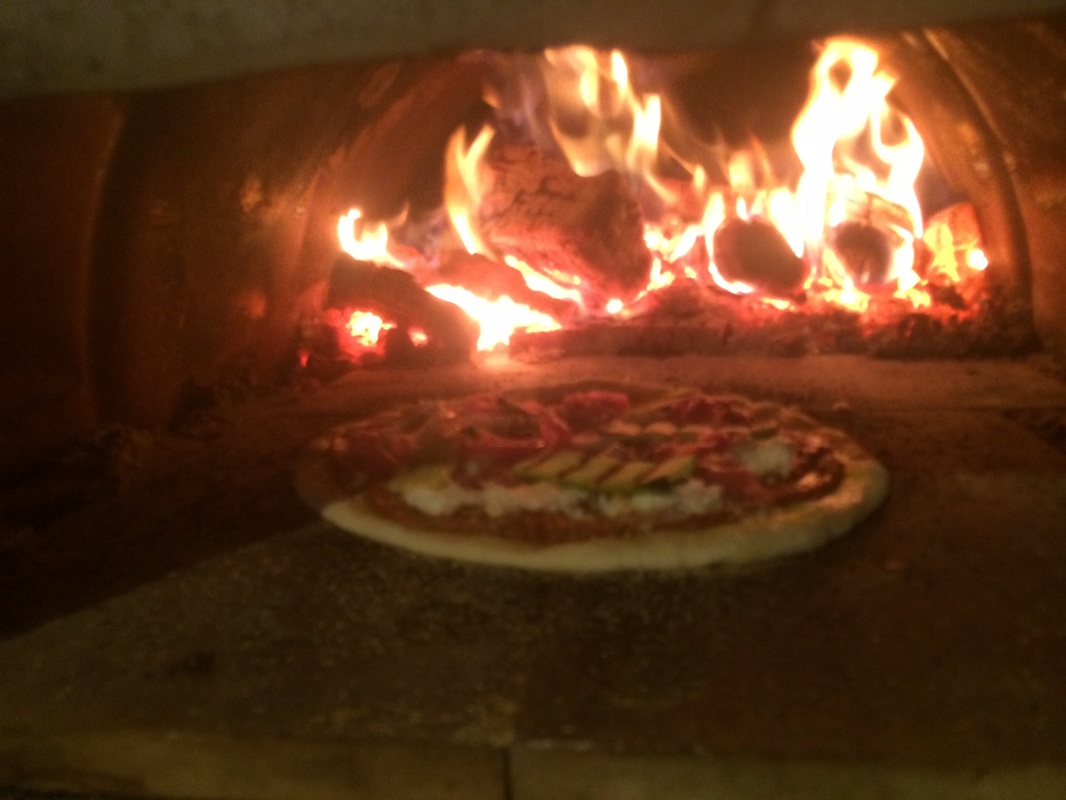
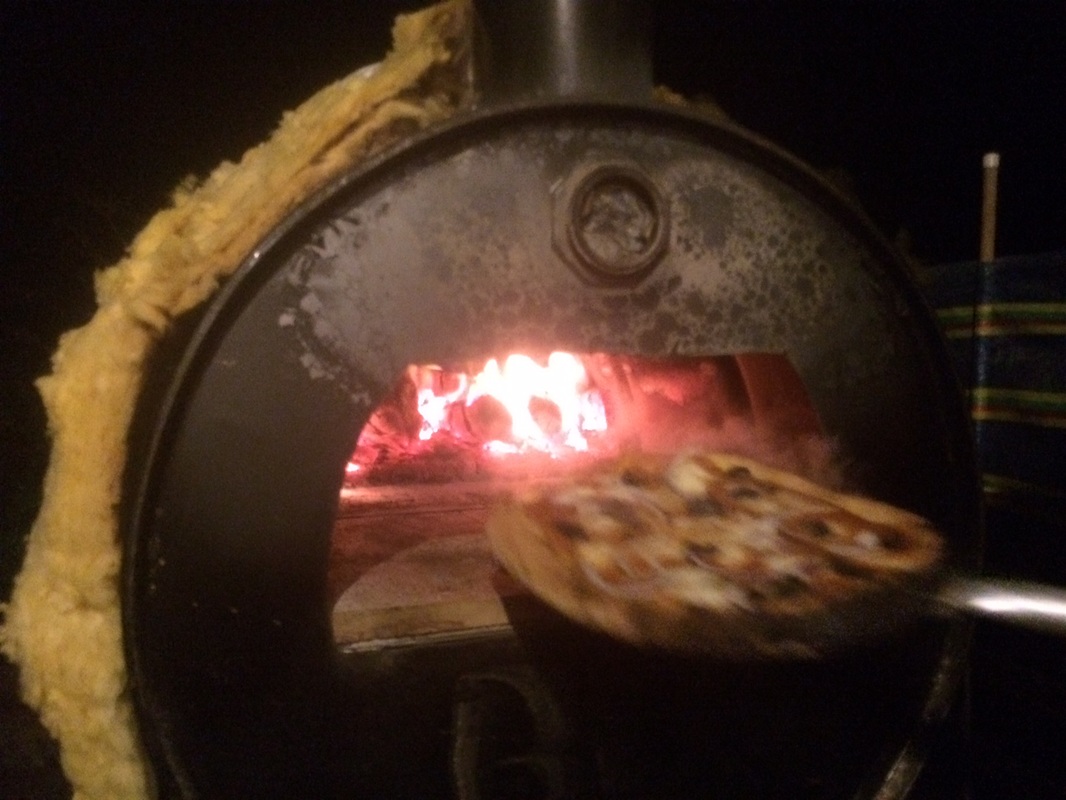
4. The cook up!
The test cook was the day before my brother's wedding, the family were all over so Andy and Joel (captain and the duke) were on cooking duty see pics below of Andy in action!
By all accounts the pizzas where great!
There is a massive amount of heat loss through the top of the Oven, we laid a piece of fibreglass insulation over the top as a temporary measure to see how it worked. You can just see the oven thermometer in the picture, it is off the scale!
4. The cook up!
The test cook was the day before my brother's wedding, the family were all over so Andy and Joel (captain and the duke) were on cooking duty see pics below of Andy in action!
By all accounts the pizzas where great!

| 

|
5. the plan now is to build a permanent base, better insulation and perhaps build a brick arch over the top, watch this space...
 RSS Feed